Manage Saved Query
Listing Saved Queries
If you want to view a list of queries you have saved, use the following procedure:
STEP-1: - Enter the LIST QUERIES command at the Command prompt. Press ENTER.
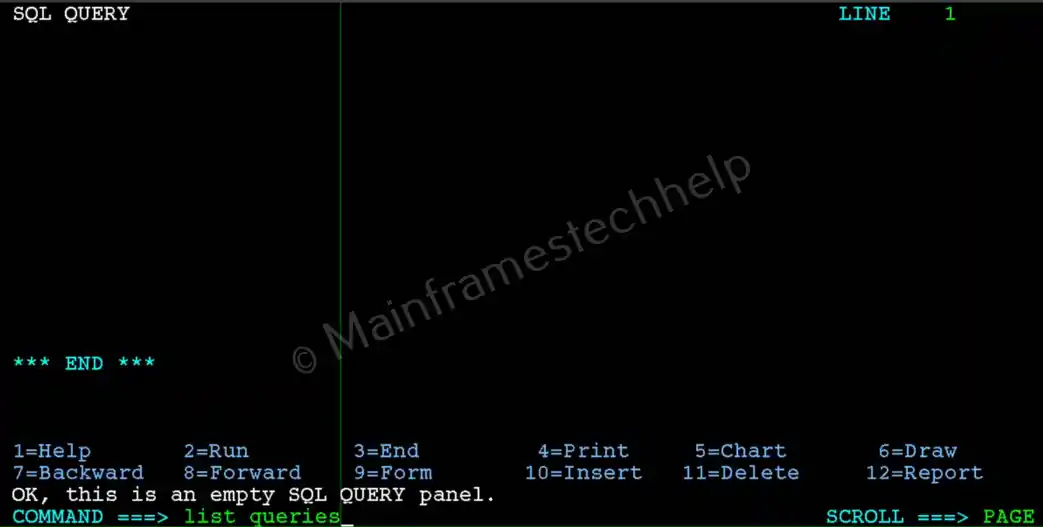
STEP-2: - It displays the saved queries list:
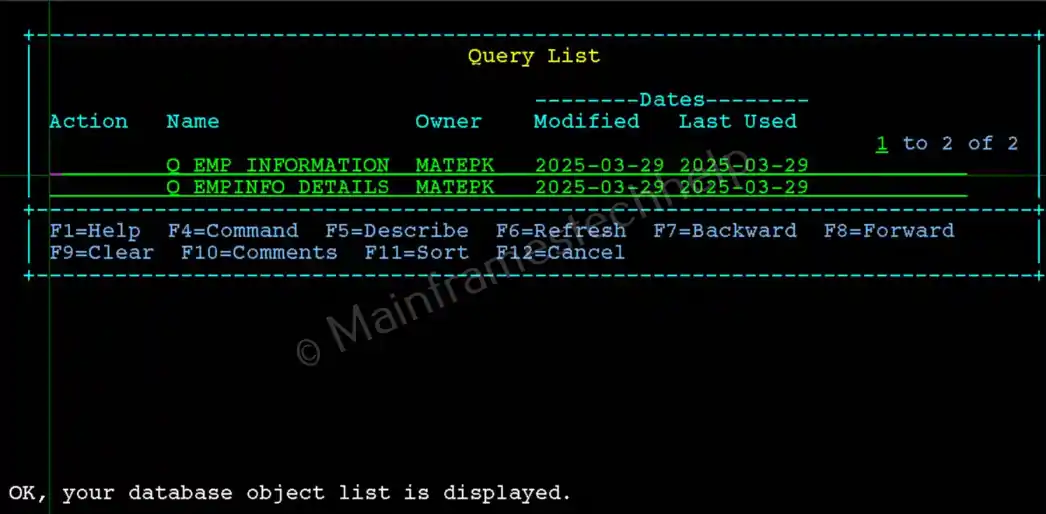
STEP-3: - The list of available actions are -
- RUN - Runs the query
- DISPLAY - Displays the query in the query panel.
- ERASE - Deletes the query with a confirmation.
Enter the DISPLAY as Action and hit Enter.
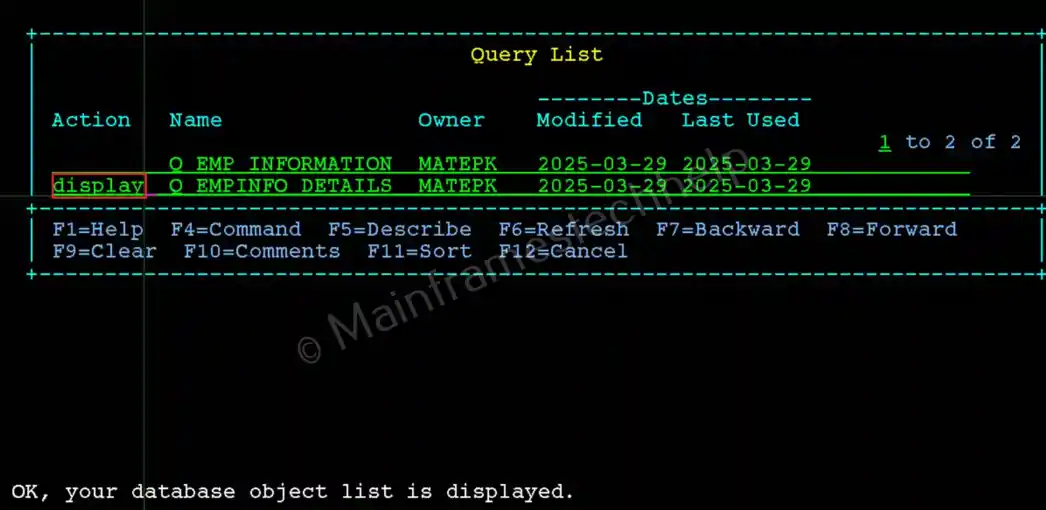
STEP-4: - Query will be displayed in the Query panel.
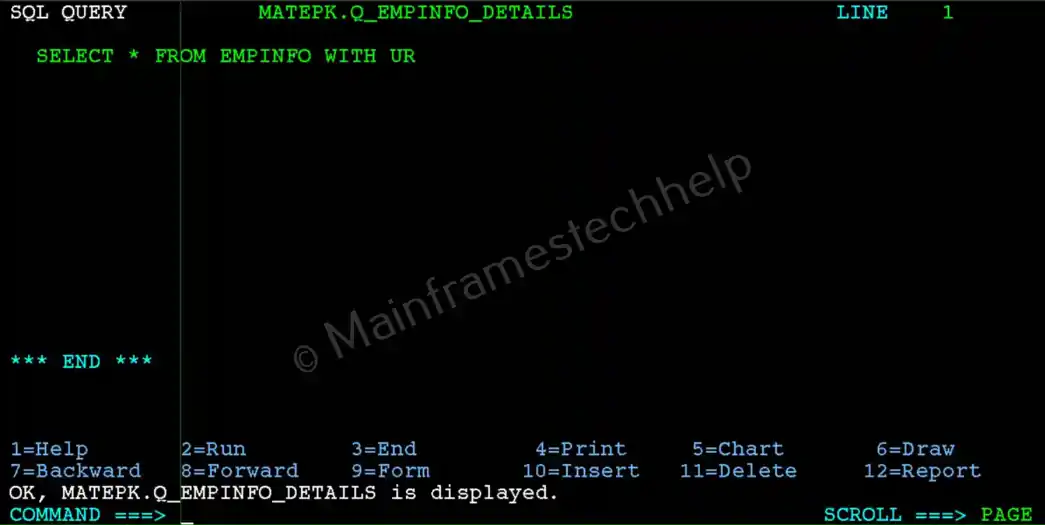
Reset the Query Panel
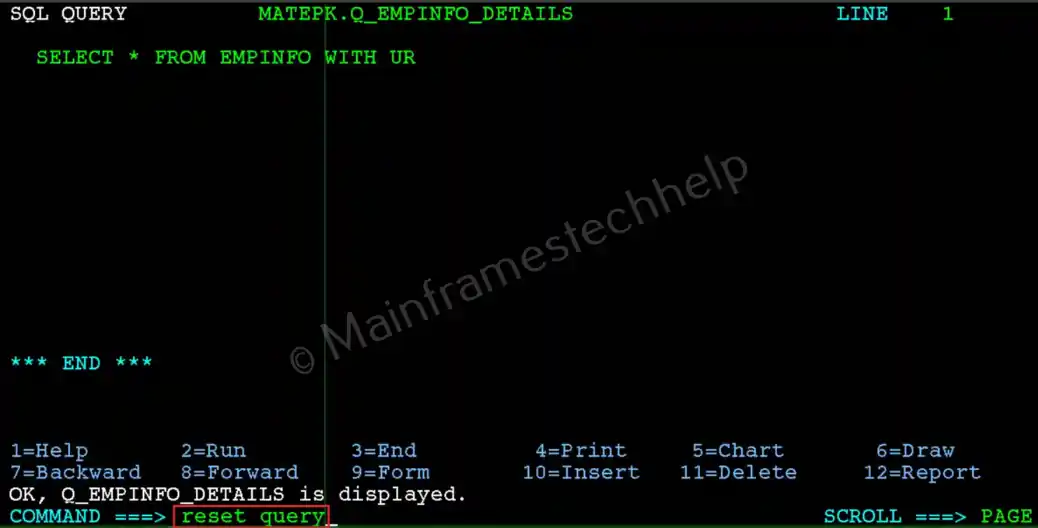
If a query displays on your current panel and you wish to clear it before writing a new query, use the RESET QUERY command. This command erases the SQL statement on the current panel and displays an empty area for the new query.
To reset the query panel:
STEP-1: - Enter the RESET QUERY command at the Command prompt of Query panel. Press ENTER.
STEP-2: - It clear out the query and empty screen will be displayed:
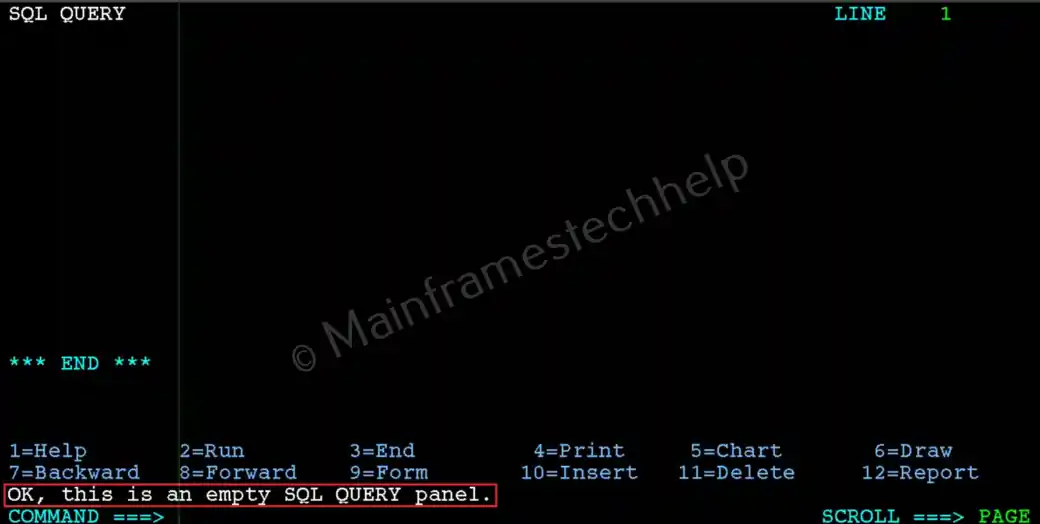
The query cleared from the panel cannot be recovered unless it was previously saved.
Retrieving the Saved Query
Sometimes you may need to retrieve a saved query from the database for viewing. To display a previously saved query:
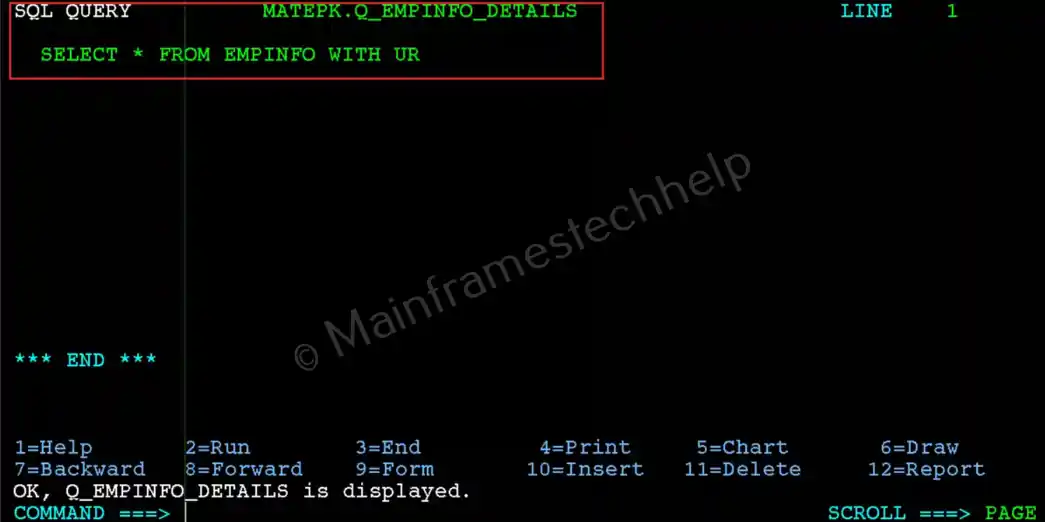
STEP-1: - Enter the DISPLAY query_name command at the Command prompt. Press ENTER.
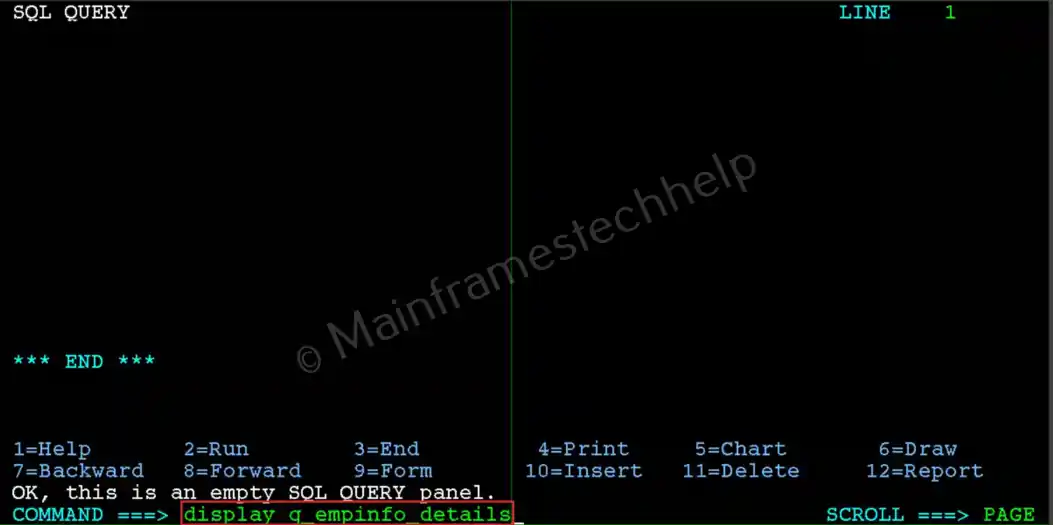
STEP-2: - It displays the query in the Query panel as shown below:
Run the Saved Query
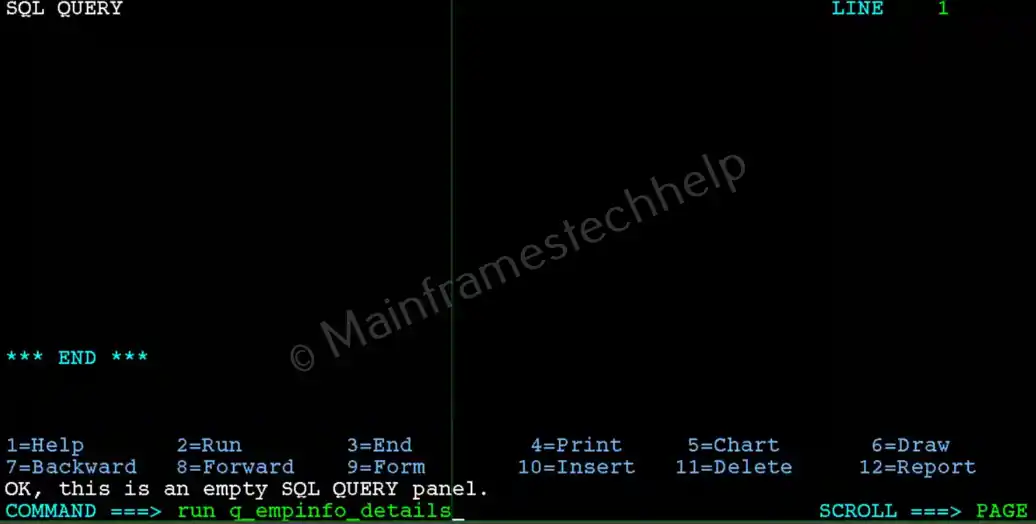
After you have saved a query, you don't need to display it on the SQL Query panel to execute it. You can use the RUN command to run a saved query directly from the "Command" prompt on any QMF panel.
To run a previously saved query:
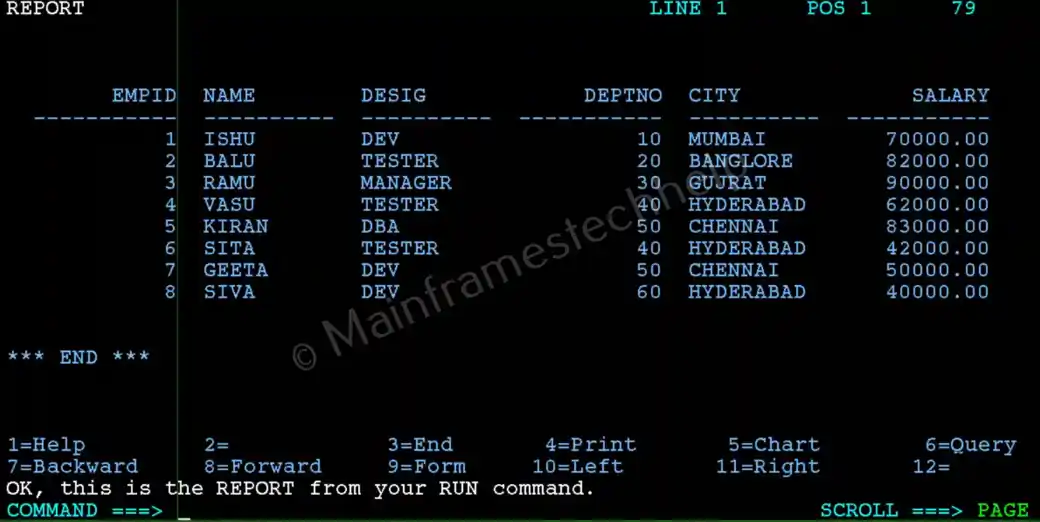
STEP-1: - Enter the RUN query_name command at the Command prompt. Press ENTER.
STEP-2: - It displays the results panel as shown below:
STEP-3: - Press PF3 to come back to previous screen.
Delete the Saved Query
QMF lets you erase any query you have saved in the database. To delete a previously saved query:
STEP-1: - Enter the ERASE query_name command at the Command prompt. Press ENTER.
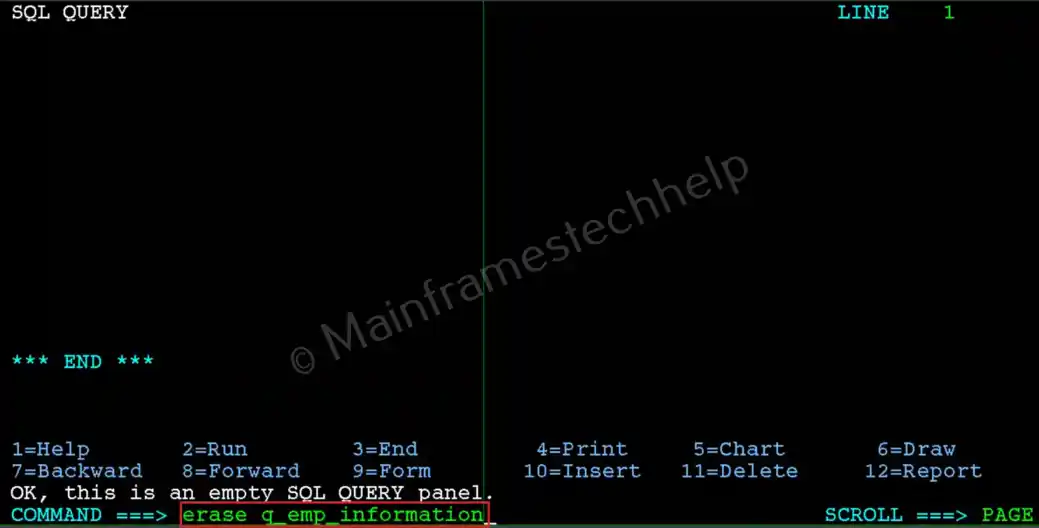
STEP-2: - It displays the confirmation screen. Enter "1" to confirm the deletion.
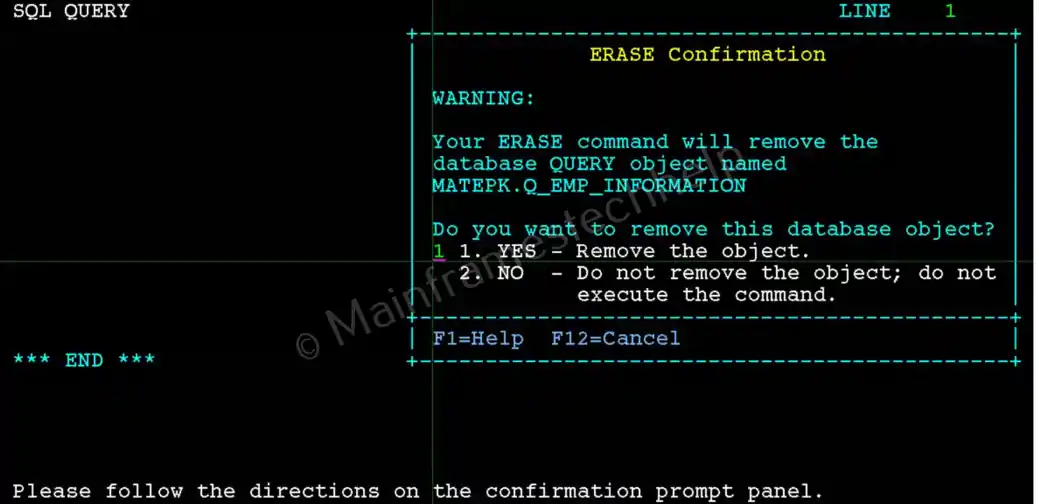
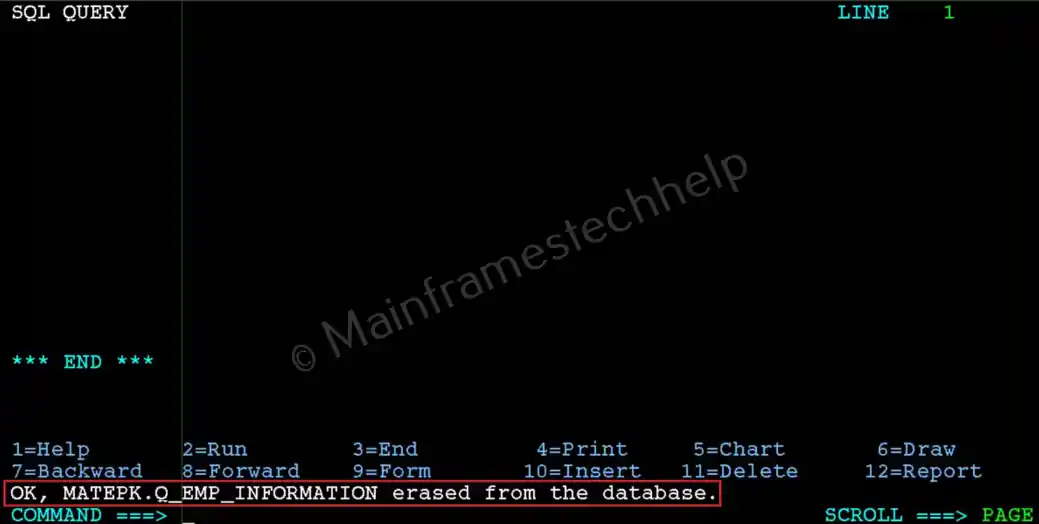
STEP-3: - Delete confirmation will be shown below -
